Precision takes off
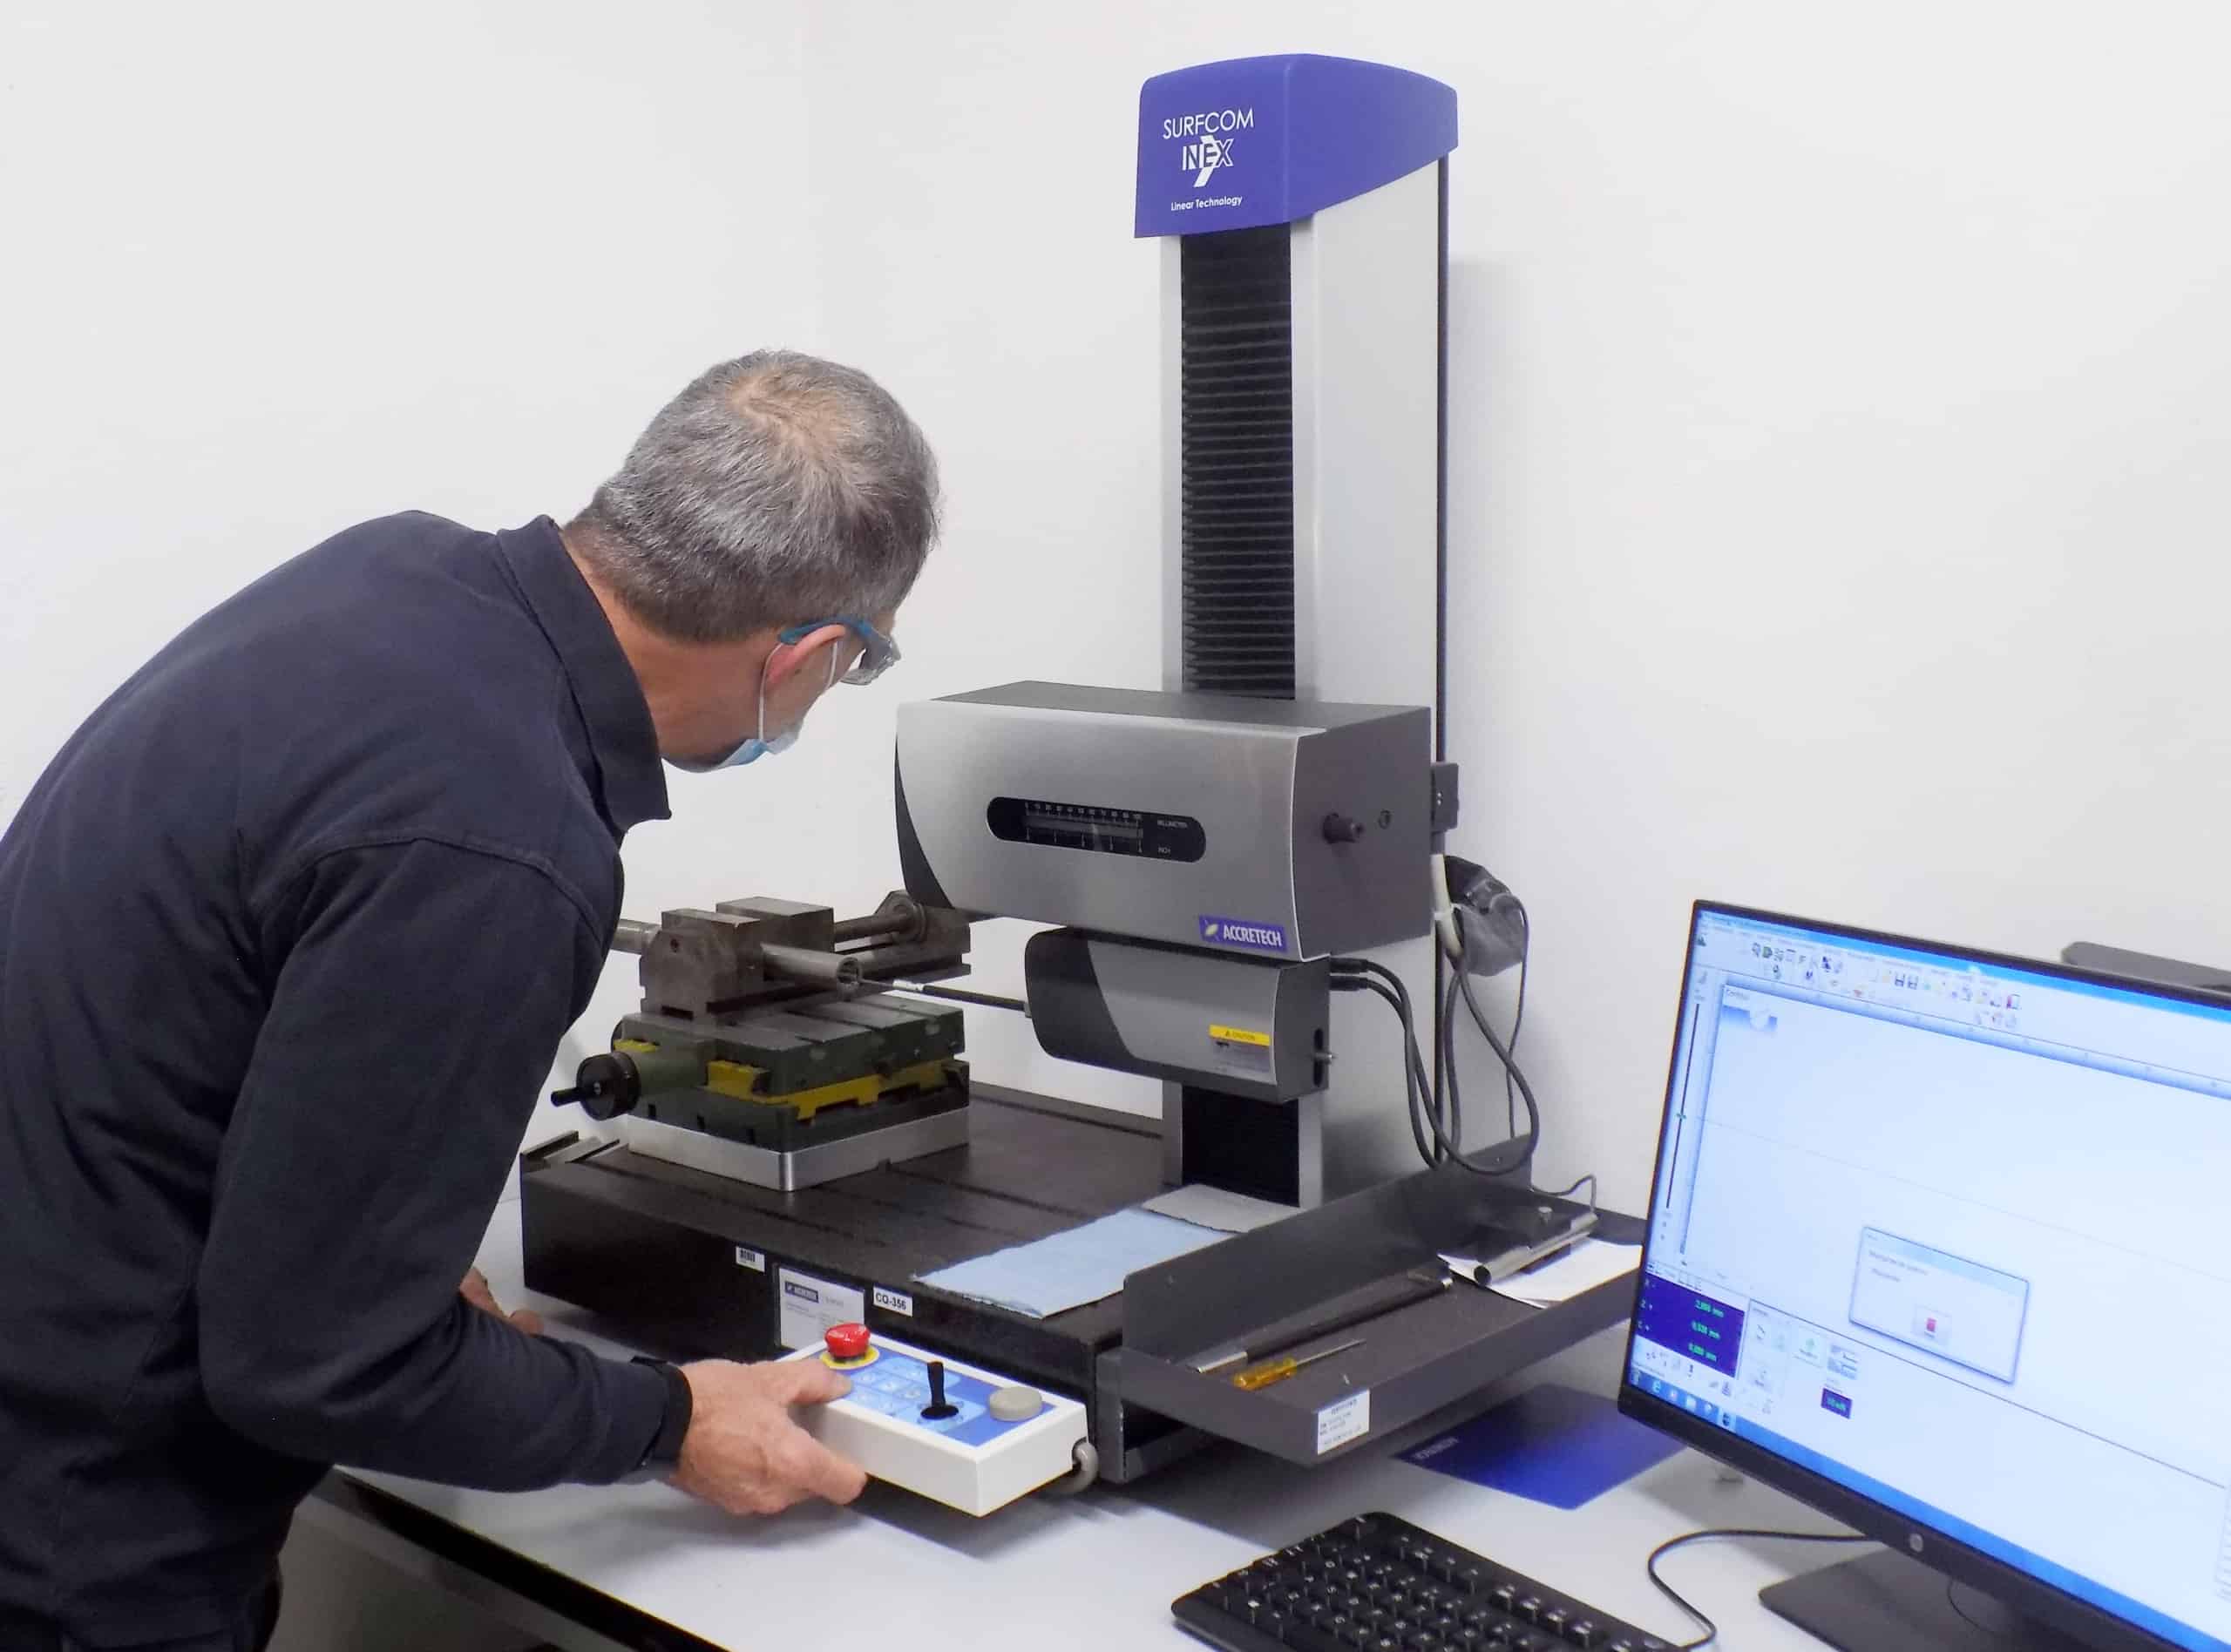
The aerospace and defence sector is one of the most heavily regulated industries in the world, where precision and dependability requirements are at the highest level. With an ACCRETECH SURFCOM NEX 041, S.I.ME. can guarantee the quality of its components and fulfil the most demanding and varied requests from clients in Italy and Europe.
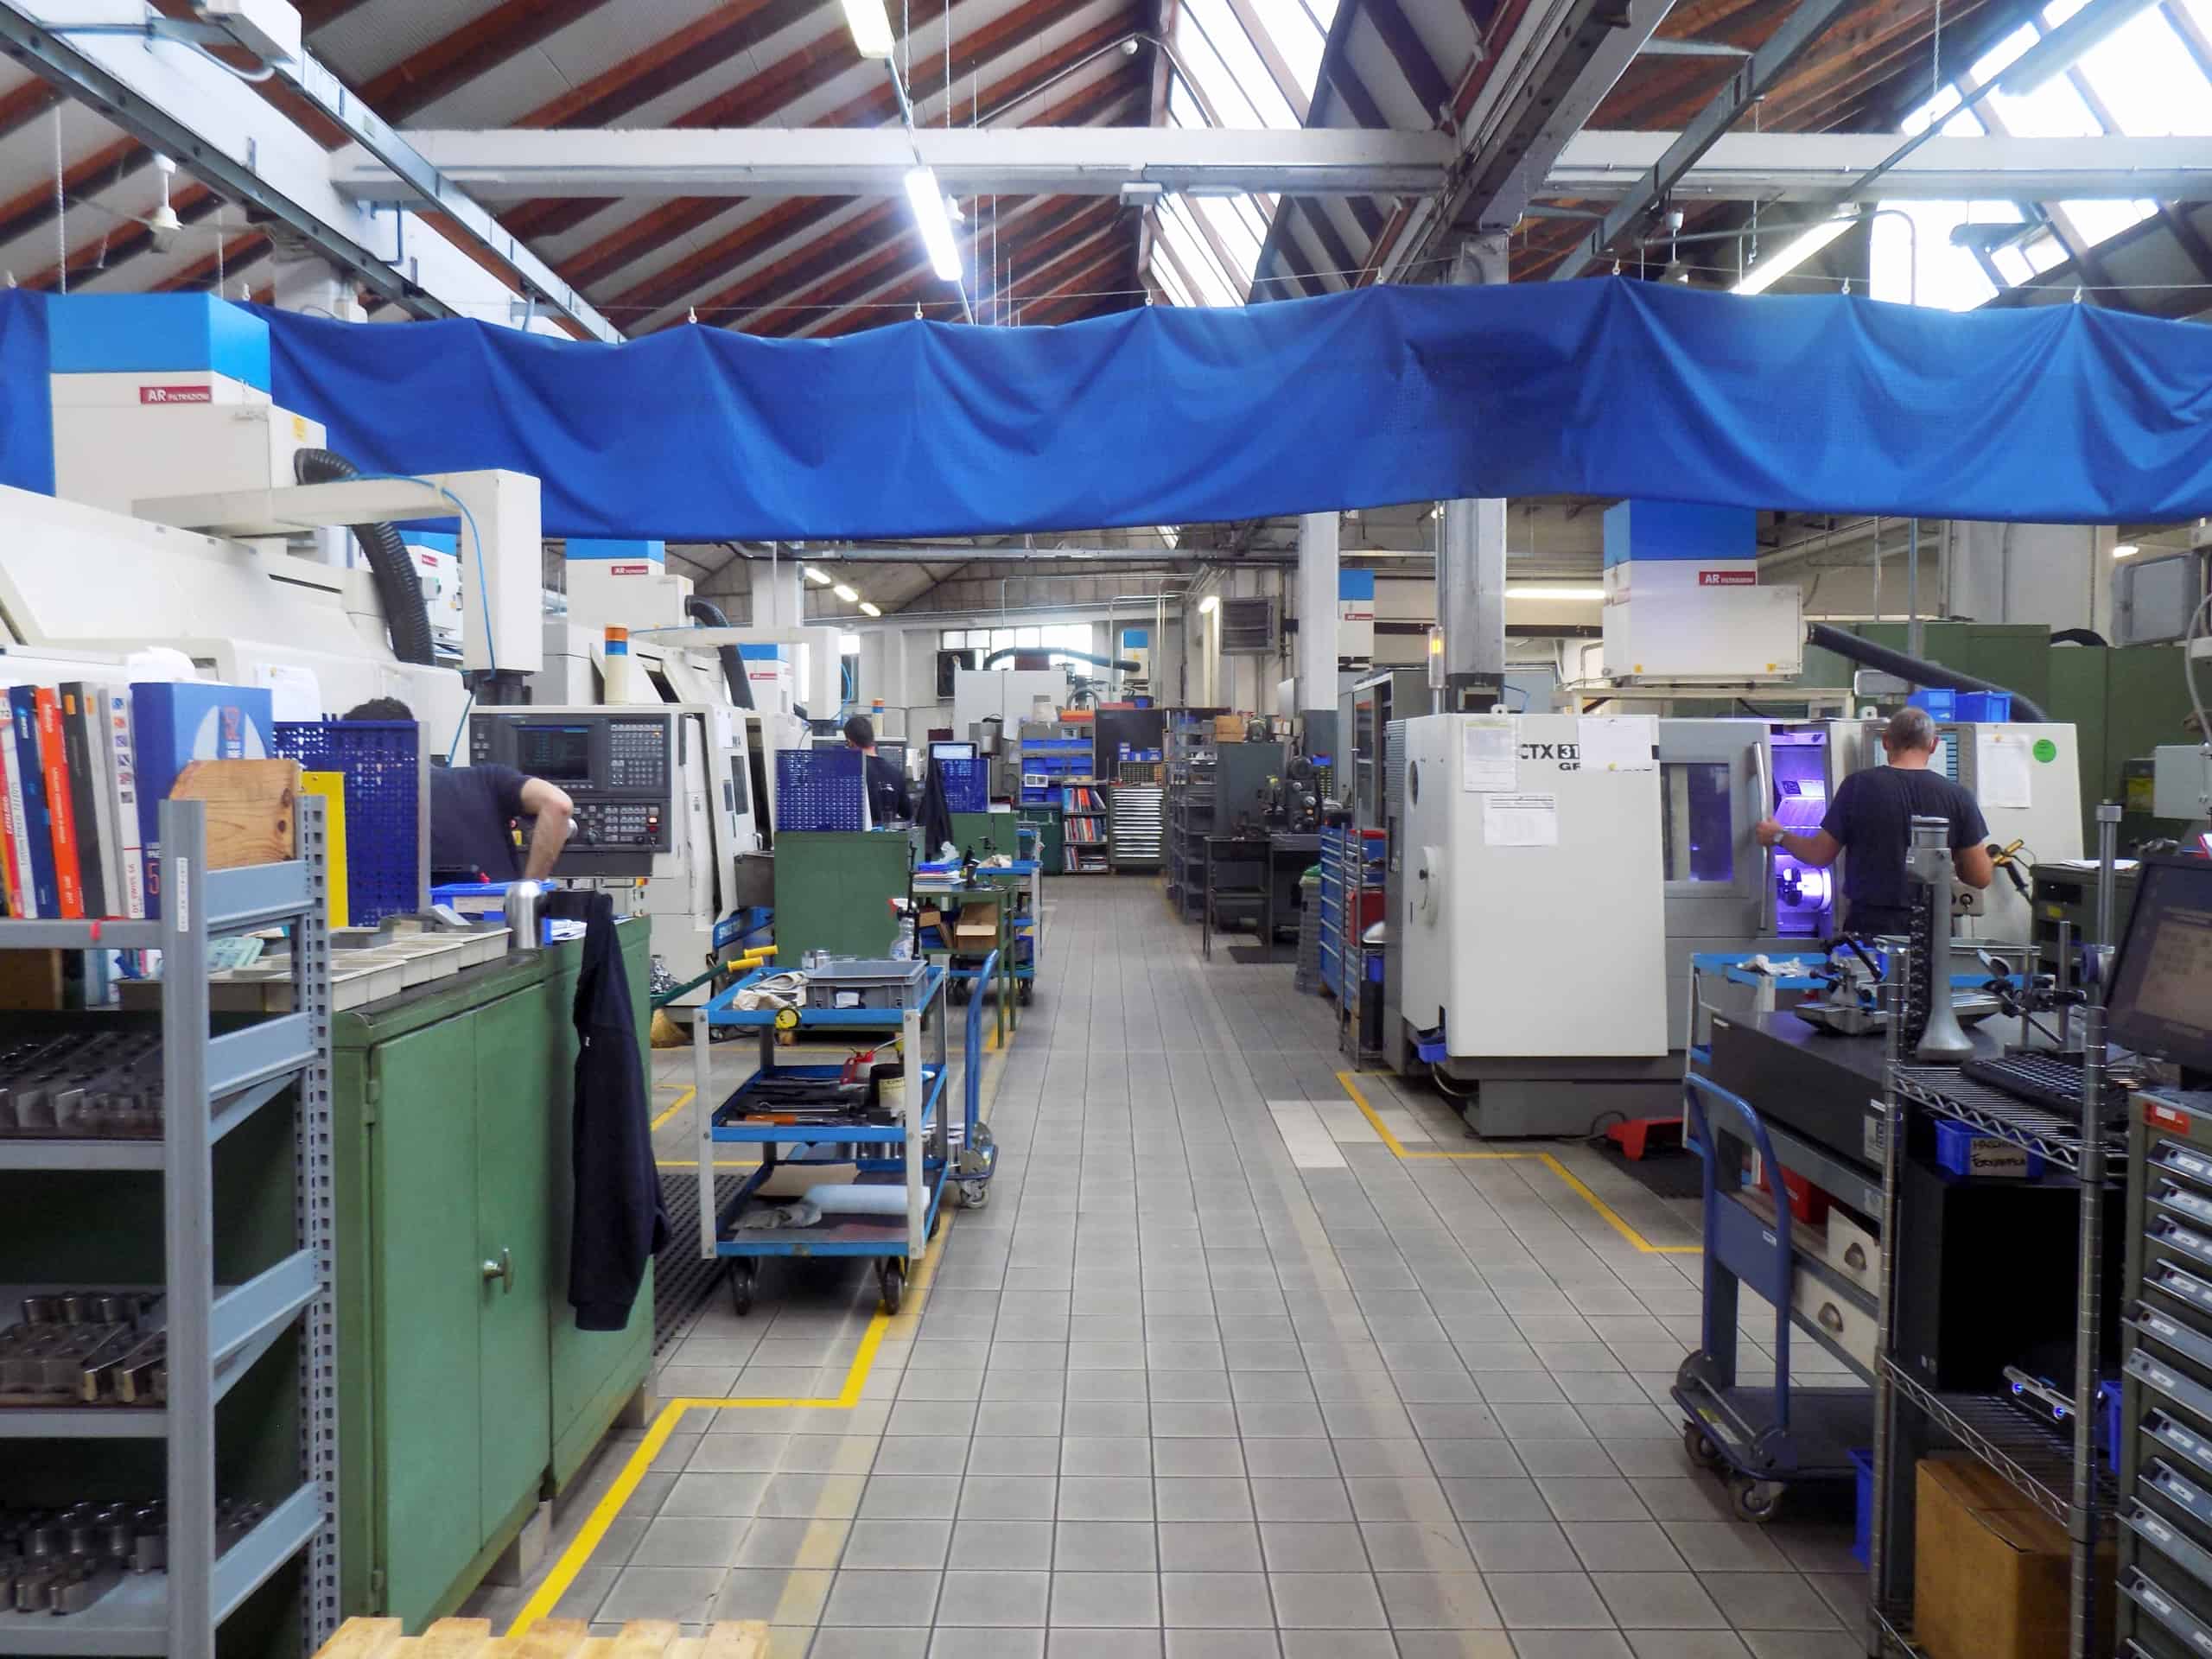
S.I.M.E., an Italian company with headquarters in Borgomanero (NO), incorporates a cutting edge production area that allows various types of mechanical processing on complex stainless steel components for its clients in the aeronautic and defence sector. The pieces are usually part of complex systems such as propulsion, landing gear, and the hydraulic and fuel distribution systems for fixed wing and rotary aircraft. Over the past few years, S.I.M.E. has also developed a division dedicated to MRO (Maintenance, Repair and Overhaul): these assemblies are dismantled into their individual components, which are then checked through dimensional and shape tests, and restored to their optimal characteristics.
Precision and innovation play an important role in their reference sectors: this is why S.I.M.E. constantly seeks to increase its capacities to meet the individual needs of its clients and to produce top level components. Quality control is critical for a certified company such as S.I.M.E.
Increasingly strict quality requirements for clients in the aerospace sector
Technological developments make the precision requirements requested by clients increasingly strict. The instrument previously used by S.I.M.E. for profile measurements reached its limits over time, leading to S.I.M.E. seeking an alternative solution. In S.I.M.E.’s case, the profilometer is used mainly to check both internal and external threads on various types of components, usually part of complex hydraulic systems: critical groups of parts united by tight of tolerances.
In the past, the typical tolerance for radii and chamfers was around one tenth of a millimetre, while today tolerances up to +/- 0.01 millimetres are required, meaning within a maximum variance of 2 hundredths of a millimetre. “This is why we need a profilometer that offers optimum repeatability, resolution and precision ,” asserts Giuliano Pisapia, CEO of S.I.M.E. , “After comparing various instruments on the market, we chose a SURFCOM NEX 041 by Accretech because it satisfied all of our needs in terms of precision and integration with our systems, and in terms of the price-quality ratio”.
Maximum flexibility for various applications
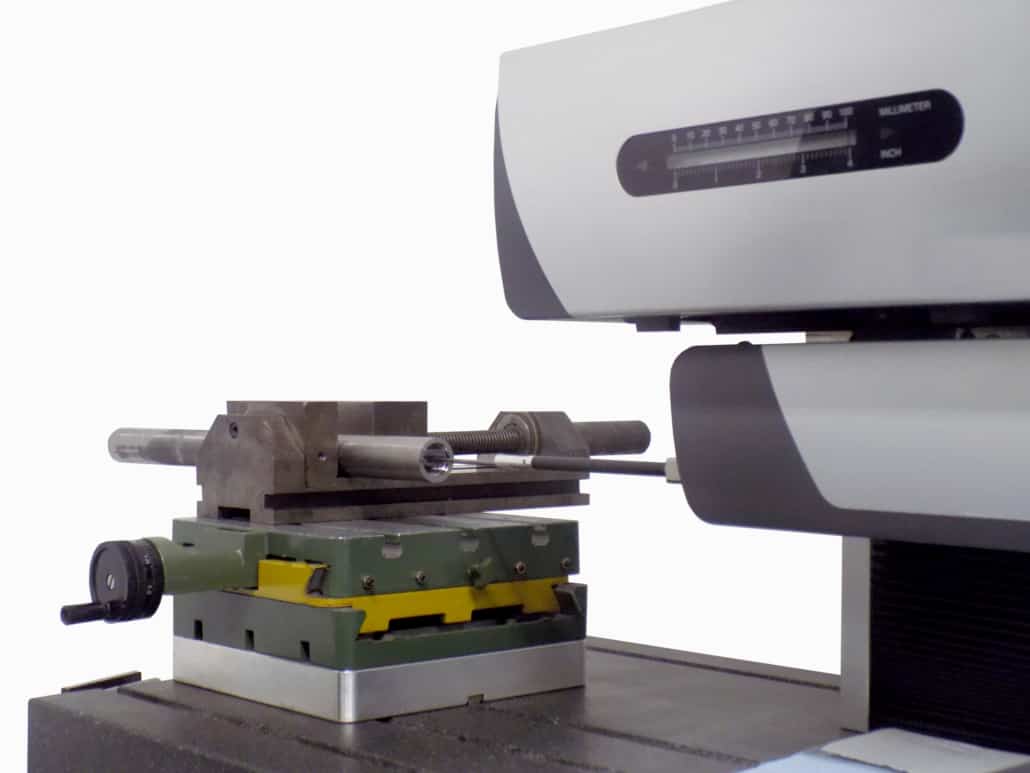
One characteristic of the SURFCOM NEX 041 that S.I.M.E. particularly admires is the “T” stylus, which allows measurement of the upper and lower profile, guaranteeing greater precision in evaluation of the diameter and of the irregular thickness of pieces to be processed. “It is particularly important for us to be able to measure both the upper and lower threads in just one position.” – Pisapia continues – “This allows us to accurately measure related diameters because the repositioning error is eliminated: this feature certainly made us lean towards the Accretech instrument.”
Roughness is another very important parameter in the quality control of S.I.M.E. projects. The fact that the SURFCOM NEX 041 (the marriage of NEX 040 and NEX 001) profilometer-roughness meter is also able to measure roughness is also a further confirmation of the quality of the product, according to Pisapia, “Measurement of the roughness is critical, and it requires an instrument that is not effected by vibrations and background noise, which is why a tool that can also measure roughness will measure the profile even better.”
Reduced set-up times to increase productivity
The profilometer-roughness meter – located in a metrology lab near the production area – is used both for process control and to guarantee final quality. The quality control process occurs – following the set-up – on every first piece of a batch and is then repeated on random samples. Working in the aeronautic sector, S.I.M.E. often works on small lots – 50-100 pieces – so the set-up is performed numerous times per day on each of the 23 work stations between turning and milling. After every set-up, the operator brings the first piece into the metrology lab for the check, which is performed by the same operator or a metrology technician. This type of process is repeated on the same batch for each critical operation or treatment performed by S.I.M.E. When the product is ready, the metrology expert performs the final quality control exam on each critical parameter. “There are details that require a check of 100% of the dimensional characteristics: this means that SURFCOM NEX is used more than once per day by numerous people.”
The variability of the checks performed derives not only from the need to measure different pieces, but also from the fact that different tests performed on the same piece vary according to the process and manufacturing type. The reduced set-up times of SURFCOM NEX 041 are a fundamental element for S.I.M.E. “A very useful characteristic of this instrument is that it automatically recognizes the stylus when it is changed, automatically loading all of the parameters associated with that type of test, without the need to perform manual calibration.” This characteristic has allowed S.I.M.E. to reduce the required set-up times, thereby reducing bottlenecks and increasing productivity: “this was also one of the reasons that we decided to change instruments: the prior solution had time consuming and cumbersome parameter set-up processes.”
Another important aspect for S.I.M.E. was the interfacing of the metrology tool with the company data collection system. With a bi-directional system, S.I.M.E. collects and shares data between the production area and the management system, both to monitor processes and to offer the client all of the necessary information on the products and treatments performed. “The Surfcom NEX integrated into the system perfectly, offering S.I.M.E. the ability to collect all relevant measurements, associate them with a specific batch and provide them to our clients.”
Ease of use and always-accessible technical assistance
The technicians at S.I.M.E. who use SURFCOM NEX are trained in the basic concepts of metrology and on interpreting mechanical drawings, but the fact that straightforward functionality of the instruments ACCTee software is significant. Pisapia explains this concept better “It’s extremely important to us that the software offer the possibility of viewing and analysing many different parameters, but it is also critical that it offer an intuitive interface that allows the user to immediately view the most important parameters for each process: from this point of view, the ACCTee software has exceeded even our highest expectations.”
The staff of the metrology department have been trained directly by ACCRETECH Europe technicians in the use of all functions of the product. On occasion technical assistance can be required with special parameters or personalised settings related to particularly complex workpieces. And the opening of new foreign markets has resulted in greater complexity: “In some cases, specific requests from our clients in Germany are quite different from those we are used to seeing in the technical designs of our Italian clients, and occasionally in the past we didn’t know how to handle them.” Here, too, the feedback is positive: “The Accretech technicians have always proven themselves fully able to fulfil every single one of our requests. In addition, they have also established a great relationship with the workshop staff, another positive aspect that shouldn’t be underestimated.”
S.I.M.E.
S.I.M.E. is an Italian company founded in 1950, with headquarters and two plants in Borgomanero (NO). EN9100:2016 certified, it supplies the aerospace and European defence markets with precision components. The company specializes 5 axis machining, CNC turning, grinding, interior lapping, deburring and professional finishing. It is also able to perform special NADCAP-approved quality control processes such as non-destructive checks (LPI and MT), thermal treatments (Precipitation and Distension), passivation and external thread rolling. Over the past few years, the company has developed a department dedicated to the repair of Aeronautic devices (MRO station) that is perfectly integrated with the assembly department. SIME is a member of Consorzio Altair and participates in the Torino Piemonte Aerospace project.
Contact:
ACCRETECH SBS UK Ltd.
Tim Wood
Regional Director North Europe
Unit 2, Leofric Court Progress Way
CV3 2NT Coventry
Phone +44 (0) 2476 651 774


